Labels

Wednesday, January 30, 2013

Win A Gift Card


In case you've missed it we have been holding a contest to promote our fundraiser (to get things started... the money is for things like repairs to the shop, and pretty lacy dresses and other inventory). So for every time you share the link to our GoFundMe page, you're entered in a raffle to win one of two $25 gift certificates to Lucille's redeemable at our new shop, online via Etsy, or at any location we're selling at.  You can share via Facebook, your blog, twitter... you name it!  Just drop us a line on Facebook or leave a comment here and you're entered in the raffle. Contest ends today so get sharing. 

So "Like" us on Face book here....

And share this linkhttp://www.gofundme.com/shoplucilles

Awkward hugs & many thanks,
Caiti & Jess

Tuesday, January 29, 2013

DIY Bleached Design Shirt

I'm a sucker for Pintrest and a sucker for DIY's, I admit it. So when I saw the bleached design diy I had to try it. It was a good primer, I found with straight spray bottle method my design ran quite a bit and the detail was lost. I tweaked it a bit....

Things you'll need:

  • Cardboard-to use as a work space and extra to place under the shirt, so the bleach doesn't reach the back. 
  • Bleach- I used a 2:1 mixture of bleach and water. I put some in a spray bottle and additional in a bowl.
  • Paintbrush and rag.
  • Design- any stencil will do. I used our Lucille logo and cut it using the Cricut. (Best investment!)
  • T shirt- I ironed mine. You don't want wrinkles fudging up the spray pattern
  • Gloves- I have a bad habit of forgetting this part. I'm pretty sure I no longer have fingerprints.
Lets begin:


Set up your area, place cardboard in shirt and place your design. I sprayed the back of my design with some multi-purpose spray adhesive just to help the tentacles stay down. Using a paintbrush, dunk it into your bleach mix and paint around the design. 

When you feel you've sufficiently painted around all the detail take your rag, dunk in mixture and blot around the design. I forgot to take a picture of this step...


Now spray the area further out from your design, I chose to spray from the corner and bottom so little splatters reached the collar and sleeve. 


Once you've painted, blotted, and sprayed to your liking you've got to wait. Five to fifteen minutes should work, you can gauge it by the color change. Take off your design and wash the shirt. That's it.  Fin. 


Oh I forgot it's also super helpful if you have a good supervisor.


Have fun!
-Caiti

Monday, January 28, 2013

Date Your Vintage: Part Deux.

Last week we talked buttons and zippers. Both are pretty good clues to a garments date. When paired with the garments makeup; fabric, cuts, and seams you can rest assured you've got a pretty solid method of dating. (That is if no label is present, we'll talk labels soon.)

Time to peak at the undercarriage....


The sewing machine made its debut in the late 1700's, the first practical machine patented in the mid 1800's and by the 19th century the sewing machine was becoming a household object. Hand-sewn construction and machine-sewn construction coexisted for years, until the late 19th/early 20th century. When dating early garments its fabric type and cut of garment is useful.

Top to bottom: French seam, Pinked seam, Serged seam.

French seams were used on turn of the century clothing through to the 1940's. In a French seam the raw edges of the fabric are fully enclosed providing for a neat finish. The seam is first sewn with the wrong sides together. The seam allowances are then trimmed and pressed. A second seam is sewn with right sides together, enclosing the raw edges of the original seam.

Pinked seams can be seen in most 1950's garments. They are recognizable by scalloped or teethed looking edge. Although pinking cutters were patented in 1893, the invention of the pinking shears by Benjamin Luscalzo is what popularized this seam. These shears allowed for a way to cut a garment without leaving the fabric to fray. That meant the time consuming french seam was no longer needed.

Serged seams have been around since the 1900's and in use by the 1920's. However it was a rarity  The serger became affordable and mass produced by the 1960's making the over-locked stitch popular, still used today.
Top to bottom: Blind hem circa 1950's, Hem tape circa 1960's, Rolled hem circa 1980's

Certain finishing techniques are also good clues in dating your piece. Hems were generous from the 40's to the 60's, often three or four inches deep and finished with hem tape and blind stitching. Hem tapes were generally used by North American manufactures. Modern garments usually have a narrow, machine-rolled hem. 

Armholes were most often tailored to the wearers arm and cut high, prior to the 1970's. From the 1930's to the 1950's three-quarter and seven-eighth sleeves were popular. If you should find diamond gussets in the armhole, its most likely 1950's. In the 1970's styles changed to a less body conscience form, sleeves became bloused or bell shaped. By the 1980's bloused sleeves reached its peak and gave way to the puffed sleeve often paired with shoulder pads. Think Dynasty.

Puffed sleeves scream 80's.

A garment's material is useful when discerning ages. In the 1980's there was a throwback to the lines and design of the 40's-60's dresses. Noting a garments material can be very helpful in differentiating the time periods.

Acrylic was developed in 1944. It was first used in the 1950's and still used today. It was originally used in outerwear but now is used most commonly in knits.

Rayon was developed in the 19th century to imitate silk. It was used extensively for lingerie and light summer dresses until the 1950's.

Nylon was developed in and used in the 1940's available mostly in stockings. It was not used in clothing until well after WWII and most often in lingerie.

Polyester has its roots in the 1920's but wasn't introduced in clothing form until the 1950's. It gained it's wide popularity in the 1970's.  Polyester was durable, wrinkle free, and stain resistant. It could also be manufactured rather cheaply.

Spandex or Lycra was first produced in 1959 and can be seen in lingerie in the early 1960's. It's not until the 1980's that it became popular in clothing.


There are several ways to test a garments material type, one being the thread test. Another being the burn test. I've never used the burn test as I don't have a good track record with fire. Ask me about the "break a wine bottle in your sink" fiasco. Hint: I set my arm on FIRE. My arm is fine, it was only "briefly" on fire.

To do the thread test all one needs is a magnifier or really really good eyesight. Find a seam where threads are sticking out, if you can pull a thread carefully that's preferable. Now break that thread.
  • Cotton- breaks easily and have fuzzy, uneven ends.
  • Linen-threads will snap when broken, ends are pointed and uneven.
  • Wool-curls when broken.
  • Silk-uneven clean ends when broken.
If you are brave enough to try a burn test use a small clipping from a seam. Hold the fabric with tweezers (not fingers). It's best to burn fabric over metal dish with water in the bottom.Some fabrics ignite quickly and melt, so please be careful.
  • Acrylics-burn readily. A match acrylic can ignite the fabric which will burn rapidly unless extinguished. The ash is hard. The smell is acrid or harsh.
  • Nylon-melts and then burns rapidly if the flame remains on the melted fiber. If you can keep the flame on the melting nylon, it smells like burning plastic.
  • Polyester- melts and burns at the same time, the melting, burning ash can bond quickly to any surface it drips on including skin. The smoke from polyester is black with a sweetish smell. The extinguished ash is hard.
  • Rayon-burns rapidly and leaves only a slight ash. The burning smell is close to burning leaves.
So happy burning pyros, next week we will delve into labels.

Until then...
xoxo,
Caiti & Jess


Tuesday, January 22, 2013

Date Your Vintage: Part 1


If you find me feverishly rubbing a button between my fingers followed by my sniffing said button, please don't be alarmed. I'm just trying to date a garment.

Sure you may look foolish sniffing a button or look like a creep peeking up a dress's undercarriage but these things must be done to date that lovely vintage piece.

So lets talk notions..

Buttons & zippers, they hold up men's pants and keep lady bits covered. They are also very useful in dating.

We'll start with the lovely and useful button.


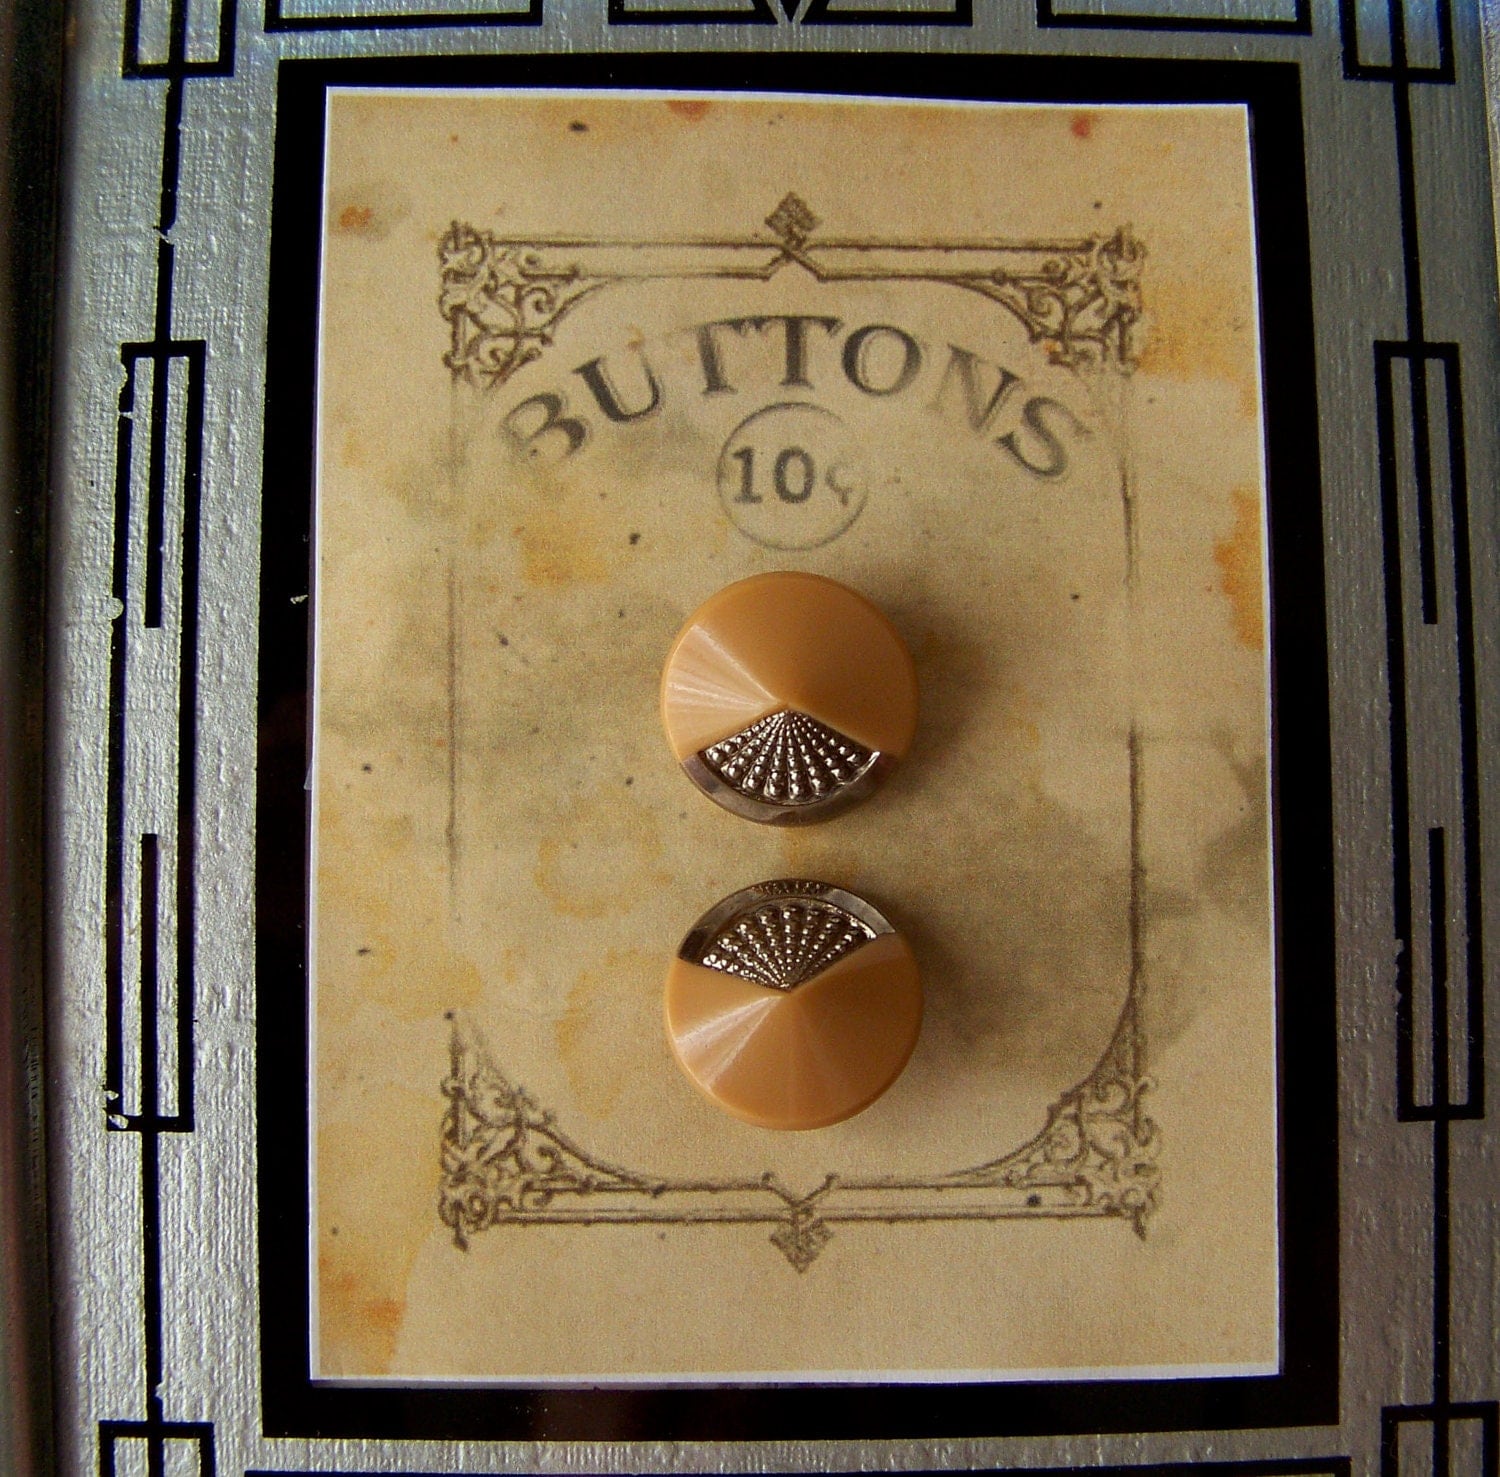
China buttons were produced in the mid 1800's till around the 1930's. They were sturdy and frequently used on men's work clothes. Most often they were white and plain, indicating Victorian era. Most popular are the buttons with stencil-like geometric patterns and calico design, indicating 20th century. China buttons are almost always sew through buttons.

Glass buttons have been around since the 18th century often mixed with other materials. During the 19th century pure glass buttons were produced. Their backsides are a giveaway. If there is a metal shank or post it's 19th century. If there is a glass or "self" shank then its 20th century. If you are confused on whether it's plastic or glass give it a feel, right on your wrist or cheek. It should feel cool. You could also lightly bump the button against your teeth. You should hear a clink.

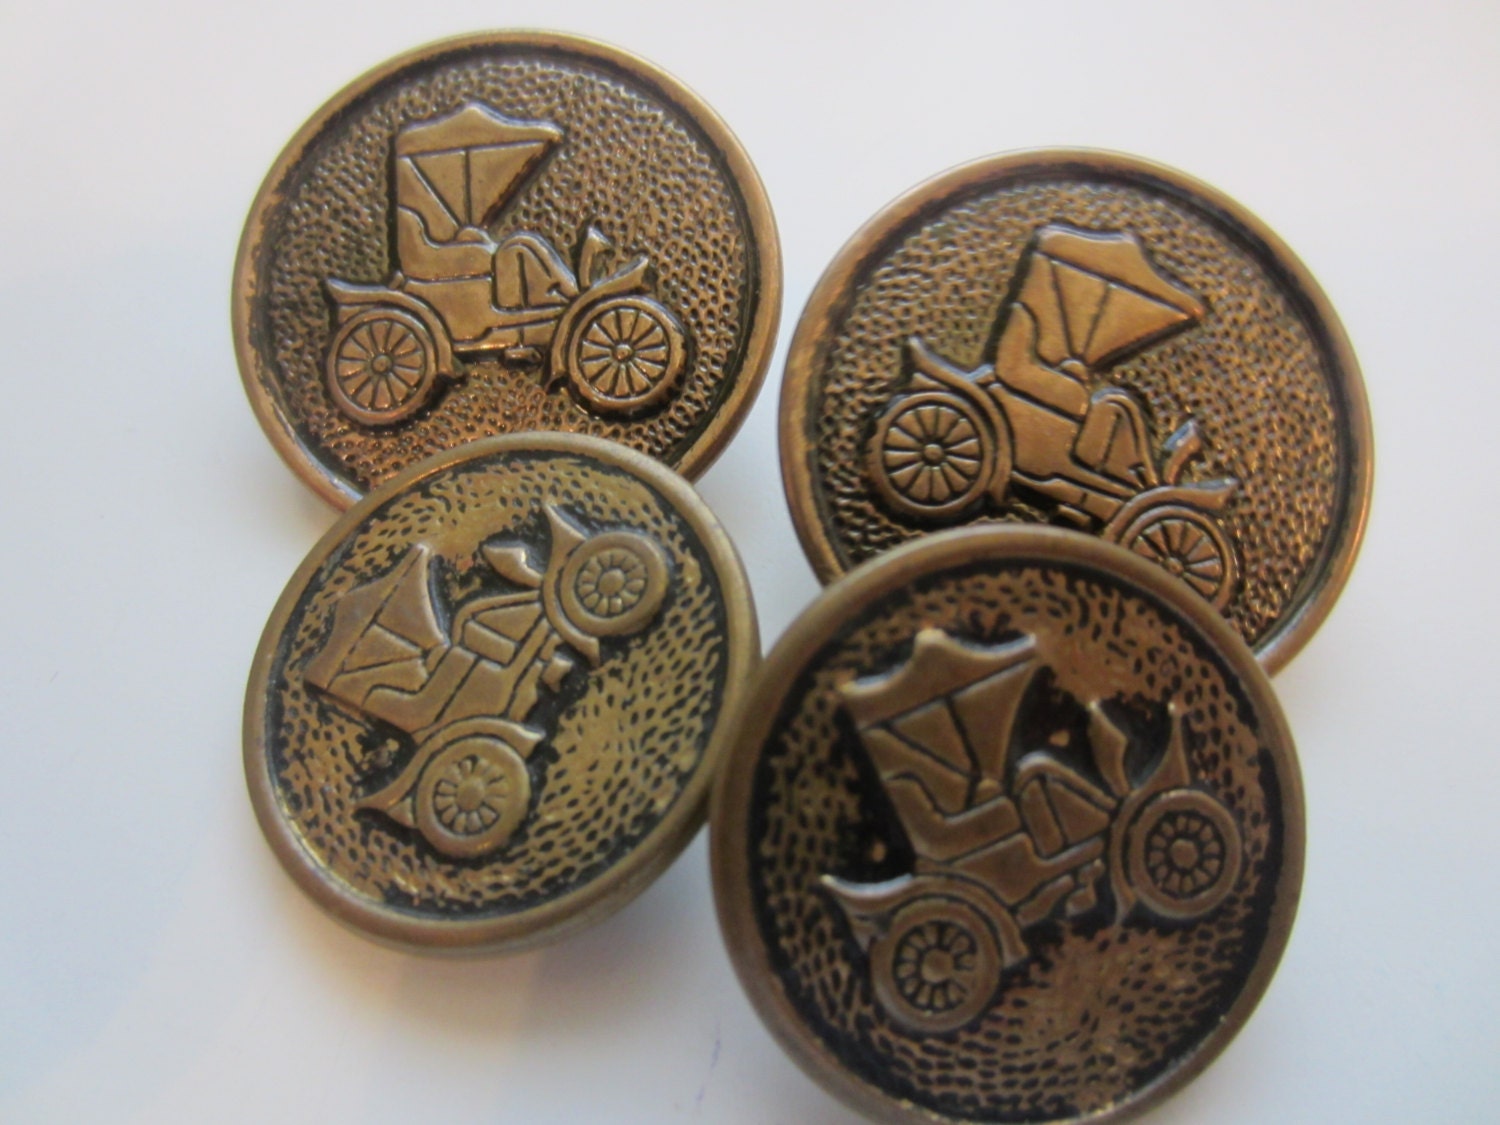
Metal buttons are the easiest to identify. They can be made of brass, nickel, or aluminum. Occasionally you find them made of pewter, silver or gold. Often they are embossed with a design, i.e. military buttons or picture buttons. When it comes to identification I strongly suggest you get a book or hop on the inter-webs and check out that backside baby. "Picture" buttons often have some sort of writing on the back and when none is present the shape of the shank can give clues to it's age.


Plastics can be tricky when trying to identify but I'll try and break it down.


  • Celluloid is an early plastic popular during the 1900's through the 1920's. They came in all shapes and colors. Sometimes imitating other materials like wood or ivory. To identify a celluloid button run it under hot water. Then sniff. If you get a Vicks vaporrub or mothball scent then you've got yourself a celluloid button. 
  • Bakelite was used to produce buttons starting in the 1920's. They grew  in popularity and were common until the 1940's. They too come in all shapes and sizes but are heavier than Celluloid buttons. To identify bakelite run the button under hot water and sniff  If there is a fishy or Formaldehyde like scent chances are its bakelite. The friction test can be done in the field. Vigorously rub the button then smell. It should produce a chemical, Formaldehyde like scent. If you're not use to the smell I suggest the "409" test. Simply spray some 409 on to a q-tip and rub the button. If the tip turns yellow it's bakelite. 
  • Lucite is a poly-acrylic resin that was used to produce buttons starting in the 1930's. Lucite buttons were most popular from the 1930's on through the 1960's.  These buttons could be clear or opaque, various colors, shapes, sizes and could also be carved. Its not unusual to see these buttons embedded with glitter or set with rhinestones. They can also be found in a variety of shapes like flowers or animals. Lucite doesn't have any smell when tested. Usually lighter than Bakelite but heavier than celluloid. Lucite stays pretty clear over time.


Fabric covered buttons or "self-covered" buttons became popular in the 20th century hitting their peak in the 1960's. Fabric covered buttons can be found is any size and most often on outwear. Their shank is probably your best clue as to its age.

On to Zippers. 


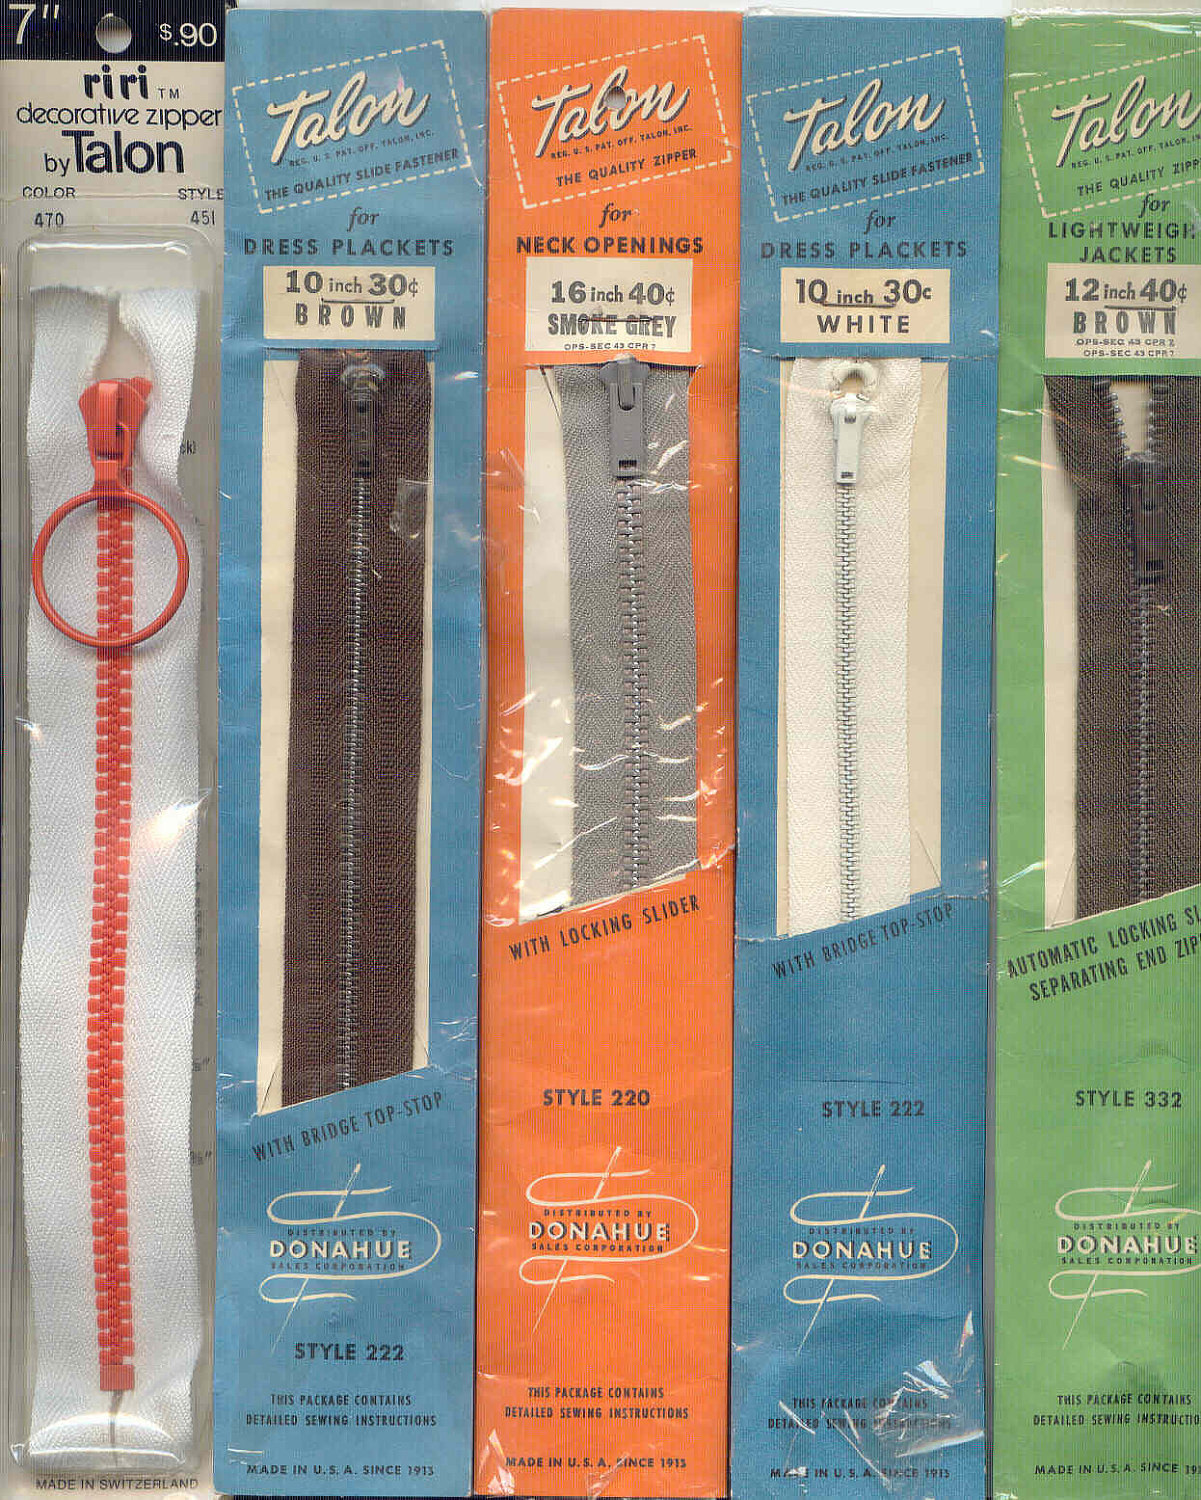
Zippers came to be in the late 19th century. It made its debut in the 1920's in men's trousers but rarely in women's clothing.  Zippers were thought to be too fast and easy to get undone making them vulgar. Oh my. They did however become increasingly popular in children's clothing throughout the 1930's. Women finally won the battle to have zippers in their garments in the late 30's but were concealed by a flap. They were still vulgar, you know. By the 1940's zippers were commonly used, without concealing flaps to boot. Throughout the 1950's and 60's metal zippers are the most commonly used. In 1968 the nylon coil zipper is introduced and became the main zipper used.

Placement of the zipper can be helpful in the dating process. During the 30's and 40's side seam, neck (short high center) and sleeves are the most common placements for a zipper. Neck and side zippers are commonly accompanied with metal snaps. In the 1940's the center back zipper appears. The side seam and full center back zipper maintains it's popularity in the 1950's. In the 1960's a full center back zipper is favored and the side seam becomes used less. The 1970's through to today the center back, half and full, zipper is the preferred placement.

Next time we'll talk fabrics, seams and finishes.  

Until then...
xoxo,
Caiti & Jess

Wednesday, January 16, 2013

cute as a button

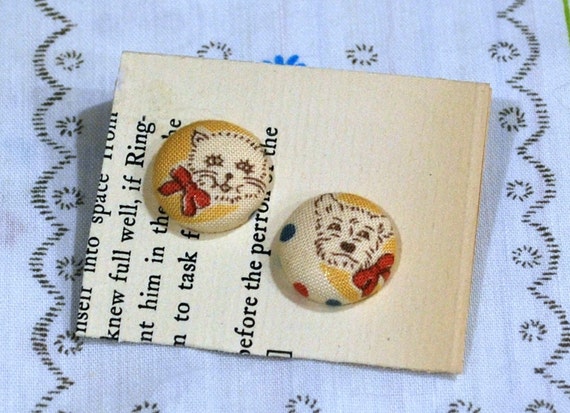
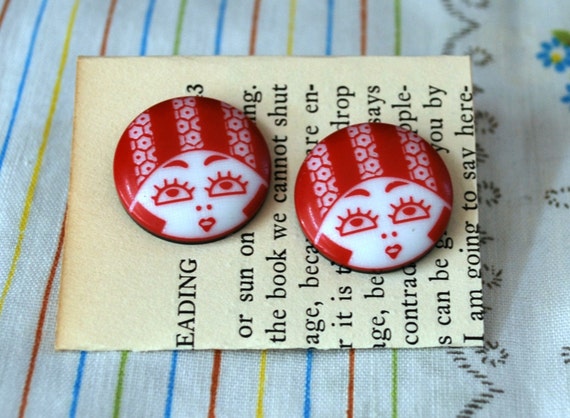
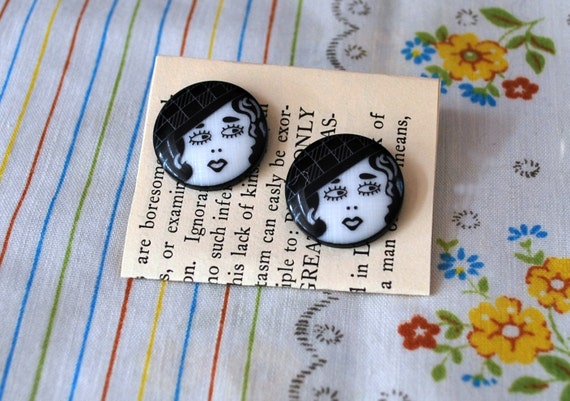
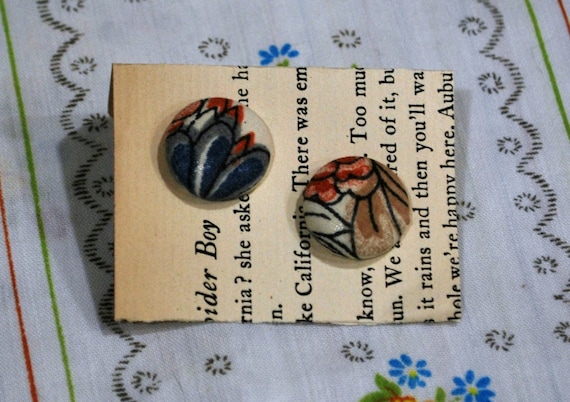
Caiti has been on crafting kick lately.  The #1 thing she's been making that we're both obsessed with is button earrings.  They're SO CUTE!  She either makes buttons (usually with vintage, or vintage inspired fabric) or buys cute ones and attaches backs to them to make them into earrings. 

Here are some of the ones we have up in the shop.  Adorable, right?

I have a pair of these for myself... you can see them in our last outfit post!

Little flapper girls!

more flapper ladies!

and vintage fabric!

I also really love the old book pages as backers... I'm a sucker for old books.  

Keep an eye out as we add more to the shop.  She's probably at home crankin' some out as we speak...


xoxo,
Jess & Caiti


Monday, January 14, 2013

inside outfits

Good Morning everyone! How are you doing today?

As promised... here is the second part of our outfit post!  These photos are from the other day when I (Jess) drove up to Caiti's house for a visit.  We showed your our outerwear in the last post, and now you can check out our inner layers!  That sounds weird, but you know what I mean.


Jess's Outfit:
1940s Dress - from Wildfell Hall Vintage
Boots (that you can't see most of, but whatever) - Avenue, a billion years ago
Belt - Thrifted

Caiti's Outfit:
Green Suspender Skirt - Handmade (she's an amazing seamstress. just sayin')
Everything else - thrifted/random

also, look at these earrings!! Caiti went on a spree of making button earrings one night, and I ended up with a pair made of my favorite fabric...  one earring is a cat, and the other one is a dog.  They're basically the cutest thing ever.  There's another pair up for sale in our shop if you're down with the cuteness.  And isn't the print on that dress amazing? It's tiny little balls of yarn!  I feel like by pairing those two things together, I successfully made the cutest kitschy outfit EVAR!

We spent the rest of the day attempting to shoot a video for our GoFundMe page... we're still not really sure how it turned out... we're in the editing stages right now.  Is there anything more awkward than trying to take a video of yourself?  I can't think of many things I'd rather do less... so if we ever do get that video up on the site you guys will definitely have something to giggle at! After that, we parted ways and Caiti went to work and I went thrifting, where I only had a tiny bit of success.  Hoping the thrifting universe will throw us some karma sometime soon...

Until next time...
xoxo,
Jess & Caiti


Friday, January 11, 2013

pinup kittens

what's better than pinups?
not much.  besides maybe kittens.

So imagine our delight when we stumbled across these images, of kittens uncovering in their inner pinup!


and why not one dog, just for the sake of it?


He deserves to be included because he's clearly tapping into his inner Vargas Girl, don't you think?

You can view the whole album here.  And you should probably bookmark it so you can refer to it any day that you're feeling a little blue and need a giggle :)

xoxo,
Jess & Caiti


Thursday, January 10, 2013

outside outfits

We realized the other day we've never really shown our faces a lot on this blog.  Neither of us are incredibly fond of being in front of the camera, so there aren't many photos of us floating around.  We decided to change that!  Because... someone needs to document our cute outfits, and all of our random shenanigans.  And nothing makes for a more entertaining afternoon than watching two photo-shy ladies setting up a camera on a tripod and trying to think of poses while the self timer beeps away.  Aside from those two ladies trying to take a video of themselves, but... more on THAT later...

I met up with Caiti yesterday to do some scheming and plotting and visiting with her cats (they're very cute, and well worth the drive).  It was a relatively warm day for winter... I think it was like 40ish, which in Maine is downright balmy.  So we decided to head outside and document our cute vintage winter coats in their natural habitat.  Because who doesn't love an amazing vintage coat in the snow?


That's me, Jess, on the left in the gray coat, and in the red is Caiti.  If you've never seen us before... hi! or, even if you have seen us before.. hi! 

Caiti quickly realized that her tights & flats were not practical for this outing


And Jess giggled and looked at the ground every time the shutter went off

And... then we threw snowballs.

There may or may not be a photo of Caiti "accidentally" throwing a snowball almost AT THE CAMERA.  as the person who was behind the lens, I can testify that it was terrifying.  Her face in the photo is that of utter horror, so... we won't post it.  Just rest assured it was hilarious.

It looks in this photo like I don't understand how throwing a snowball works and I'm just tossing it UP into the air... I assure you that's not the case.  


Caiti was wearing adorable button earrings she had crafted the night before, so I snapped a photo of those as well.  You can find some with the same fabric, as well as some other rad ones, in the shop if you're into that sort of thing.  

For those who were curious, our coats were both thrifted... We both have a knack for finding fabulous coats languishing at thrift stores.  It seems silly that someone would get rid of something so beautiful! The gray coat I'm wearing today is one of my absolute favorites!

We also photographed the outfits we were wearing underneath.  Those will come at a later date, so keep your eyes peeled.  Until next time...

Snowball fights & crafting nights,
Jess & Caiti

Tuesday, January 8, 2013

Happy Birthday David Bowie!


Today we celebrate the birthday of one of the most fabulous creatures to walk this earth (and Mars)...

DAVID BOWIE


Mr. Bowie is 66 today, and both of the owners of Lucille's still find themselves constantly fawning over him.  We think he's a hunk, no matter how old he is, what phase he's going through, or what sort of music he's singing.    


We're both inspired by his music, but also by his style... He seems to have the ability to change himself into a million different things and still look cooler than we could ever hope to be. 

I mean, really, who else could pull off THAT look? 

AND he announced today that he's releasing a new album in March! You can find the video for the single "Where Are We Now?" here.  


As a celebration of everyone else who is inspired by the Thin White Duke (or Aladdin Sane... or Ziggy Stardust...) we made a little treasury of Bowie items on Etsy.  You should check it out... there's some super fun stuff on there!  I'm pretty in love with this item in particular:


Do you love Bowie as much as we do?  What's your favorite Bowie song?

Whambamthankyouma'am,
Jess & Caiti

Friday, January 4, 2013

Facebook Raffle!


As you may have heard us mention before, we're in the process of opening up our first retail store!  We're super-duper, impossibly excited in a way we can't even begin to describe.  But before we open up, we're doing some fundraising to get things started... the money is for things like repairs to the shop, and pretty lacy dresses (and other inventory). We have a page set up on GoFundMe  and we're currently holding a raffle on our Facebook - for every time you share the link to our GoFundMe page, you're entered in a raffle to win one of two $25 gift certificates to Lucille's (redeemable at our new shop, online via Etsy, or at any location we're selling at).  You can share via Facebook, your blog, twitter... you name it!  Just leave us a comment on the facebook post about the contest and you're entered in the raffle.

Visit our page here: 

And even if you don't feel like sharing... feel free to take a peek at our GoFundMe page - we're giving away lots of things there as rewards for donations (everything from gift certificates to tote bags & mugs)


Awkward Hugs & Mustache Mugs,
Jess & Caiti


Tuesday, January 1, 2013

tumblin'


Is anyone else out there on Tumblr?  We started one quite a while ago, but have been really active on it just recently.  It's so fun to comb through websites and find all the neat old photos that are out there.  

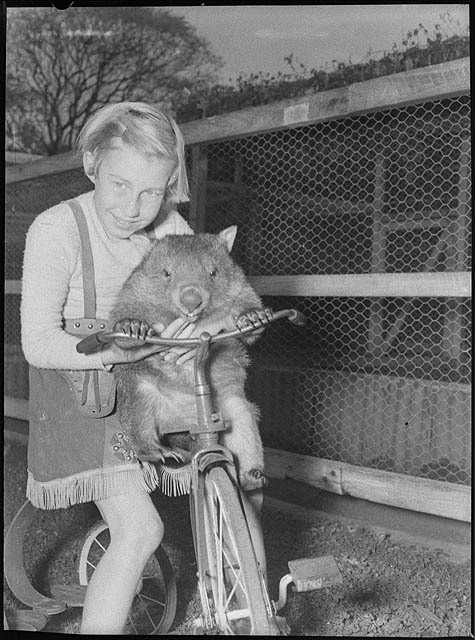
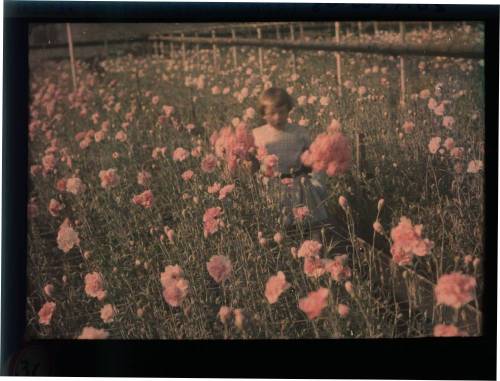
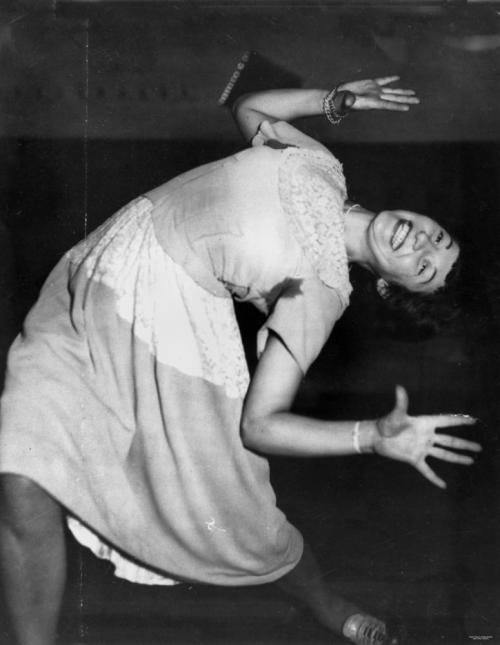
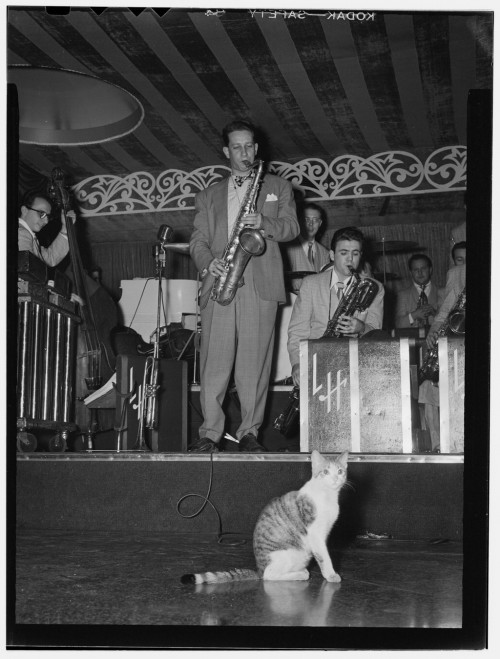
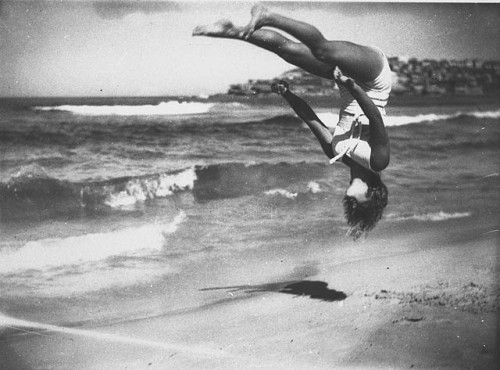
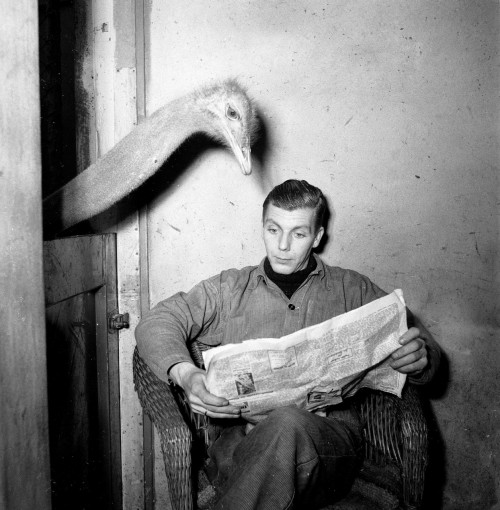
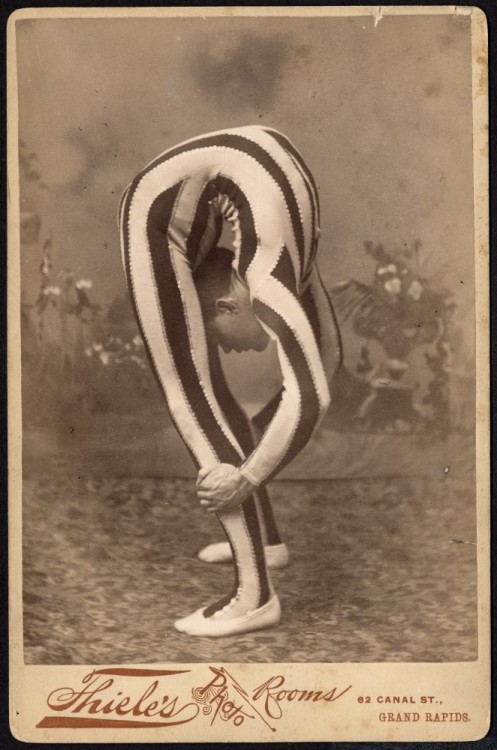
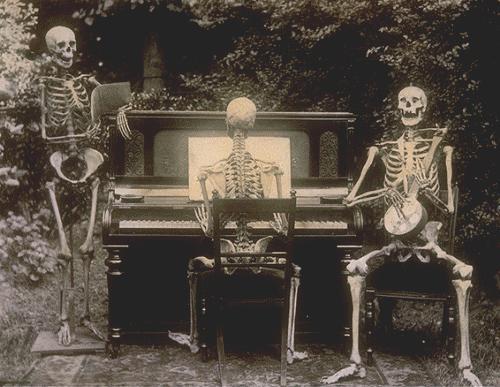
These are some of my personal favorites that we've posted on the Lucille's tumblr!


As you can see... we post a big ole variety of things.  Everything from fun 1940s dancing images, to weird macabre things we find in various places.  If you're into any of that stuff, feel free to follow us at:


What about you.. are you on Tumblr?  What's your name? We're always looking for new people to follow!