Supplies:
- Fabric for tote or a tote bag.
- Fabric for appliqué.
- Heat'n Bond Ultra Hold Iron-on Adhesive.
- Iron
- Fray-check (optional)
Lets begin...
If you hoard fabric like me and enjoy sewing I say make yourself a tote. I used this tutorial to make mine. DIY tote. It was soooo easy, I changed my dimensions a bit, mine is 16x16.
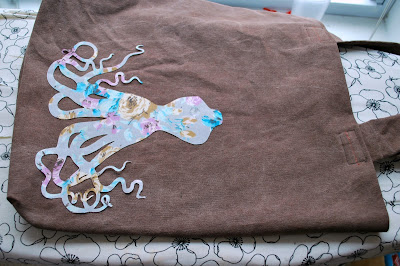
Ok, once you've made the tote we must make the appliqué. Follow the directions on the Heat'n Bond package. I simply cut a 10x10 square of fabric and a 10x10 square of Heat'n Bond then ironed them together. I then put them through my Cricut cutter to cut out my design. If you don't have a Cricut go on ebay and buy one, they rock, but also trace and cut your design. Now that it's cut you have the option to apply fray-check to the edge of your design following package directions. I chose to skip this part.
Peel the back off the appliqué and position it however your heart desires. Again refer to the directions on the package, iron that baby on.
Have fun,
~Caiti
(Obligatory supervisors photo.)


Thanks for sharing your creativity with us. Now, I can also design many tote bags, in many varieties. So, thank you so much, for this.
ReplyDeleteBuy fashion handbags